Hallo zusammen!
Ich möchte euch kurz mein Projekt vorstellen, an dem ich in letzter Zeit gearbeitet habe. Ich habe diese Karte Piotras-Smart-Button genannt. Mein Ziel war es, eine Karte zu erstellen, die nicht nur gut aussieht, sondern auch echtes funktionales Feedback direkt im Dashboard liefert.
Da die Community international ist, werde ich die technischen Details auf Englisch beschreiben:
A high-performance button card for Home Assistant — Most cards go silent after calling a service. This one tells you it worked.
 Features
- Visual Editor — full GUI with tabs: General, Size, Background, Icon, Text, Layout, Slider & Power, Filters, Actions, Service. No manual YAML needed.
- 9-Grid Layout System — place Icon, Name, and State badge independently across a 3×3 matrix.
- Adaptive Auto-Sliders — smart detection of Brightness, Color Temp, Volume, Cover Position, Fan Speed. Zero configuration required.
- Dynamic Backgrounds — solid color, 2/3-color gradients, or full-resolution background images.
- Smart Filter Engine — CSS filters (brightness, saturation, grayscale) applied automatically per ON/OFF state.
- Service Countdown — animated SVG circle or progress bar after
call-service, with optional card blockade. - Power Monitoring — real-time consumption bar with configurable pulse warning threshold.
- Font Styles — 4 text presets for Name and State labels.
- Advanced Action Engine — Tap, Double-Tap, and Hold, optimized for both mobile and desktop.
- Visual Editor Full GUI — General, Size, Background, Icon, Text, Layout, Slider & Power, Filters, Actions, Service tabs. No YAML required.
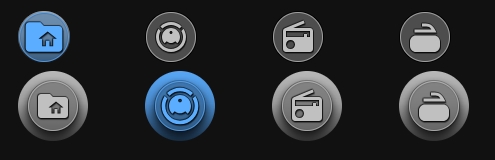
 Navigation Mode
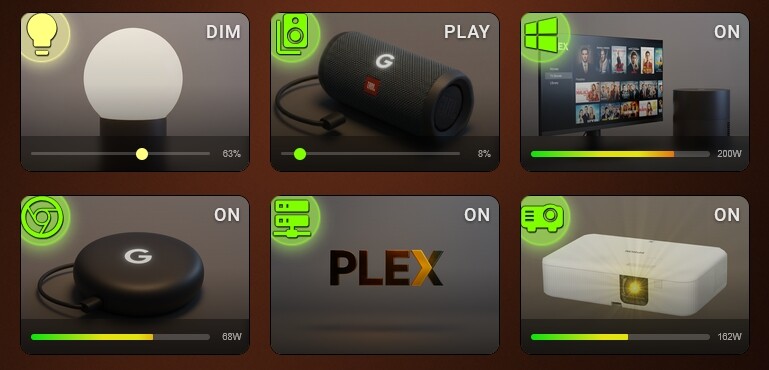
 Light & Auto-Dimmer Slider


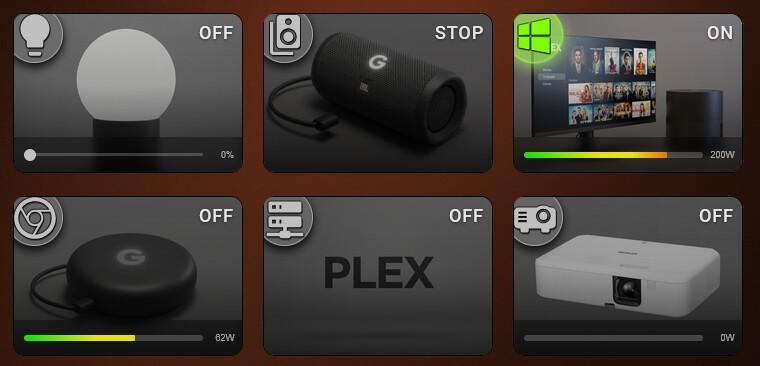
 Socket & Power Monitoring


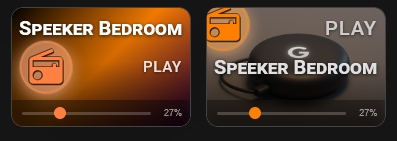
 Media Player
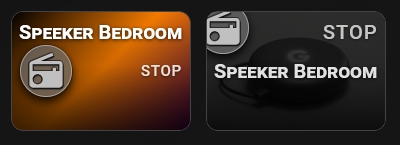
 Script Button


 Installation
Method 1: Via HACS (Recommended)
- Click the button below to automatically add the repository to your HACS:
- Click Add in the pop-up window.
- Once the repository page opens, click Download.
- After downloading, do a Hard reload of your browser.
Method 2: Manual Installation
- Download this repository as a ZIP file and extract it.
- Inside your Home Assistant
config/www/directory, create a new folder namedpiotras-smart-button. - Copy the compiled files (from
dist/folder) intoconfig/www/piotras-smart-button/. - Go to Settings → Dashboards → Resources.
- Click Add Resource and enter:
/local/piotras-smart-button/piotras-smart-button-loader.js?v=1.0.0
- Resource type: JavaScript Module
- Hard reload your browser (
Ctrl+Shift+R).
Verbesserungsvorschläge & Issues:
Gerne können wir hier im Thread diskutieren, aber für technische Fehlerberichte nutzt bitte die GitHub Issues in meinem Repository.