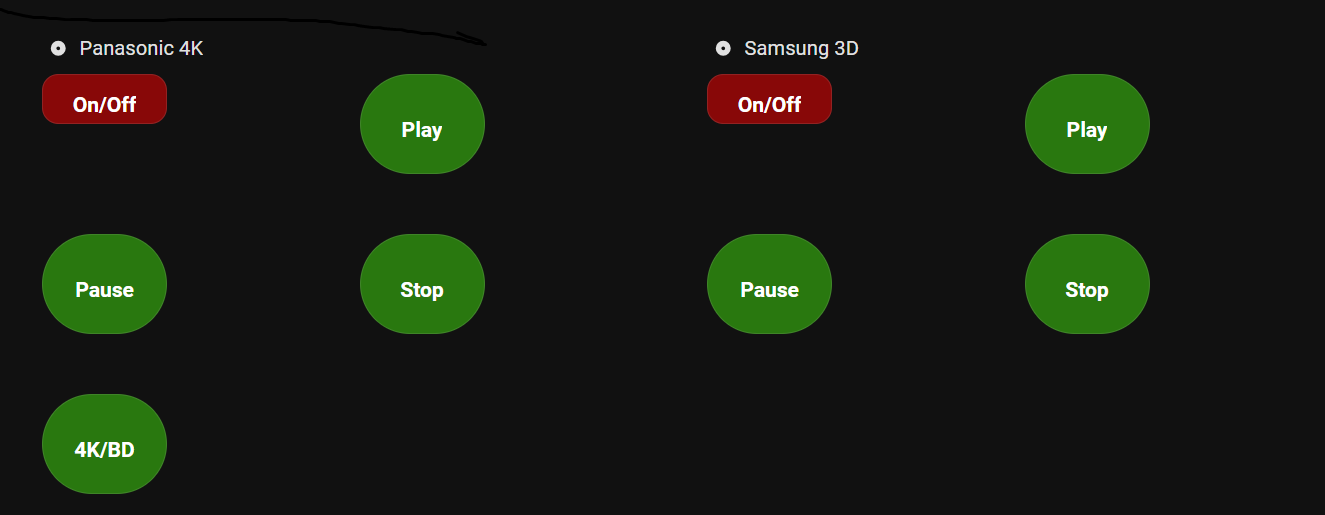
Hallo Freunde ich bin gerade dabei mir eine Fernbedienung zu Bauen. Komme aber nicht so richtig voran. Jetzt meine Frage wie kann man solche Button erstellen.
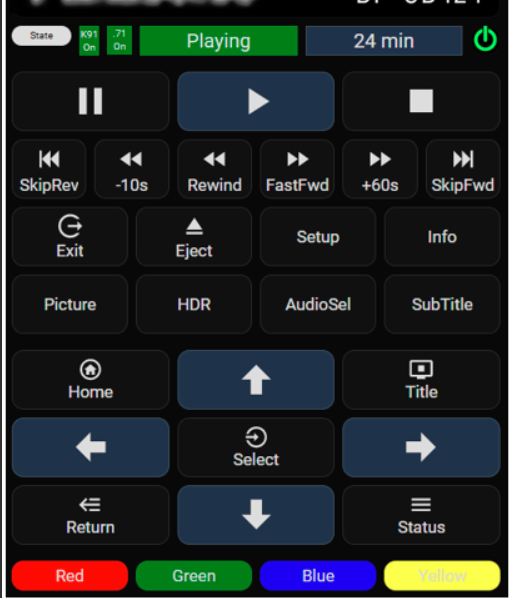
Hat jemand sowas?
Danke OSR
Hallo Freunde ich bin gerade dabei mir eine Fernbedienung zu Bauen. Komme aber nicht so richtig voran. Jetzt meine Frage wie kann man solche Button erstellen.
Hi,
ich hab edas für mich mit einer Raster-Karte gelöst.
Die einzelnen Buttons rufen jeweils ein Script auf, das dann den HarmoyHub steuert.
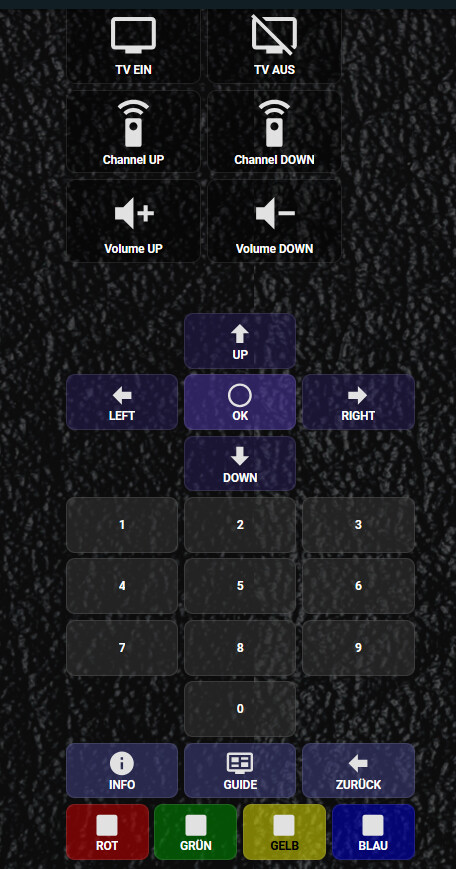
Hier ist der Code für den Block mit den Pfeilen und ‘OK’
type: grid
columns: 3
square: false
cards:
  - type: custom:button-card
    name: ""
    color_type: blank-card
  - type: custom:button-card
    name: UP
    icon: mdi:arrow-up-bold
    tap_action:
      action: call-service
      service: script.up
    styles:
      card:
        - background: rgba(40, 30, 90, 0.5)
        - border-radius: 12px
        - padding: 8px
        - height: 80px
      name:
        - color: white
        - font-weight: bold
  - type: custom:button-card
    name: ""
    color_type: blank-card
  - type: custom:button-card
    name: LEFT
    icon: mdi:arrow-left-bold
    tap_action:
      action: call-service
      service: script.left
    styles:
      card:
        - background: rgba(40, 30, 90, 0.5)
        - border-radius: 12px
        - padding: 8px
        - height: 80px
      name:
        - color: white
        - font-weight: bold
  - type: custom:button-card
    name: OK
    icon: mdi:checkbox-blank-circle-outline
    tap_action:
      action: call-service
      service: script.ok
    styles:
      card:
        - background: rgba(70, 50, 150, 0.6)
        - border-radius: 12px
        - padding: 8px
        - height: 80px
      name:
        - color: white
        - font-weight: bold
  - type: custom:button-card
    name: RIGHT
    icon: mdi:arrow-right-bold
    tap_action:
      action: call-service
      service: script.right
    styles:
      card:
        - background: rgba(40, 30, 90, 0.5)
        - border-radius: 12px
        - padding: 8px
        - height: 80px
      name:
        - color: white
        - font-weight: bold
  - type: custom:button-card
    name: ""
    color_type: blank-card
  - type: custom:button-card
    name: DOWN
    icon: mdi:arrow-down-bold
    tap_action:
      action: call-service
      service: script.down
    styles:
      card:
        - background: rgba(40, 30, 90, 0.5)
        - border-radius: 12px
        - padding: 8px
        - height: 80px
      name:
        - color: white
        - font-weight: bold
  - type: custom:button-card
    name: ""
    color_type: blank-card
Gruß
Christian
Danke ja das ist schon mal gut aber leider nicht was ich so suche.
Gruß OSR
Für den Fire TV Stick gibt es z.B. fertige AddOns, evtl. kannst Du Dir da ja was abschauen.
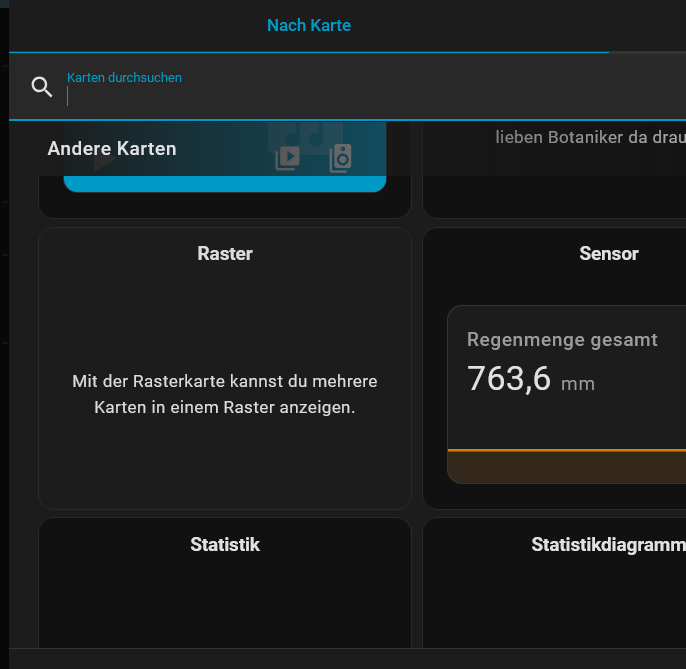
Habe dein Script doch benutzt ein wenig umgewandelt. Schön wäre es wenn man die Button ein wenig dichter aneinandergereiht bekommt .aber so geht es erst mal. Rasterkarte? gibt es die in HACS?
Hi,
Rasterkarte
ist ganz normal in HA verfügbar…Das ist der Code für den Zahlenblock:
type: grid
columns: 3
square: false
cards:
  - type: custom:button-card
    name: "1"
    tap_action:
      action: call-service
      service: script.num1
    styles:
      card:
        - background: rgba(50, 50, 50, 0.6)
        - border-radius: 12px
        - padding: 8px
        - height: 80px
      name:
        - color: white
        - font-weight: bold
  - type: custom:button-card
    name: "2"
    tap_action:
      action: call-service
      service: script.num2
    styles:
      card:
        - background: rgba(50, 50, 50, 0.6)
        - border-radius: 12px
        - padding: 8px
        - height: 80px
      name:
        - color: white
        - font-weight: bold
  - type: custom:button-card
    name: "3"
    tap_action:
      action: call-service
      service: script.num3
    styles:
      card:
        - background: rgba(50, 50, 50, 0.6)
        - border-radius: 12px
        - padding: 8px
        - height: 80px
      name:
        - color: white
        - font-weight: bold
  - type: custom:button-card
    name: "4"
    tap_action:
      action: call-service
      service: script.num4
    styles:
      card:
        - background: rgba(50, 50, 50, 0.6)
        - border-radius: 12px
        - padding: 8px
        - height: 80px
      name:
        - color: white
        - font-weight: bold
  - type: custom:button-card
    name: "5"
    tap_action:
      action: call-service
      service: script.num5
    styles:
      card:
        - background: rgba(50, 50, 50, 0.6)
        - border-radius: 12px
        - padding: 8px
        - height: 80px
      name:
        - color: white
        - font-weight: bold
  - type: custom:button-card
    name: "6"
    tap_action:
      action: call-service
      service: script.num6
    styles:
      card:
        - background: rgba(50, 50, 50, 0.6)
        - border-radius: 12px
        - padding: 8px
        - height: 80px
      name:
        - color: white
        - font-weight: bold
  - type: custom:button-card
    name: "7"
    tap_action:
      action: call-service
      service: script.num7
    styles:
      card:
        - background: rgba(50, 50, 50, 0.6)
        - border-radius: 12px
        - padding: 8px
        - height: 80px
      name:
        - color: white
        - font-weight: bold
  - type: custom:button-card
    name: "8"
    tap_action:
      action: call-service
      service: script.num8
    styles:
      card:
        - background: rgba(50, 50, 50, 0.6)
        - border-radius: 12px
        - padding: 8px
        - height: 80px
      name:
        - color: white
        - font-weight: bold
  - type: custom:button-card
    name: "9"
    tap_action:
      action: call-service
      service: script.num9
    styles:
      card:
        - background: rgba(50, 50, 50, 0.6)
        - border-radius: 12px
        - padding: 8px
        - height: 80px
      name:
        - color: white
        - font-weight: bold
  - type: custom:button-card
    name: ""
    color_type: blank-card
  - type: custom:button-card
    name: "0"
    tap_action:
      action: call-service
      service: script.num0
    styles:
      card:
        - background: rgba(50, 50, 50, 0.6)
        - border-radius: 12px
        - padding: 8px
        - height: 80px
      name:
        - color: white
        - font-weight: bold
  - type: custom:button-card
    name: ""
    color_type: blank-card
Freut mich, wenn du weiter kommst!
Gruß
Christian
Das sieht schon gut aus nun habe ich das Prinzip verstanden.
Danke
So sieht es erst mal aus besser wäre natürlich wenn man icon auf die Buttons platzieren könnte und ein Rahmen um jede Karte wäre auch noch gut.
Hi,du kannst ein Icon für jeden Button nehmen:
  - type: custom:button-card
    name: UP
    icon: mdi:arrow-up-bold
    tap_action:
      action: call-service
      service: script.up
    styles:
      card:
        - background: rgba(40, 30, 90, 0.5)
        - border-radius: 12px
        - padding: 8px
        - height: 80px
Gruß
Christian
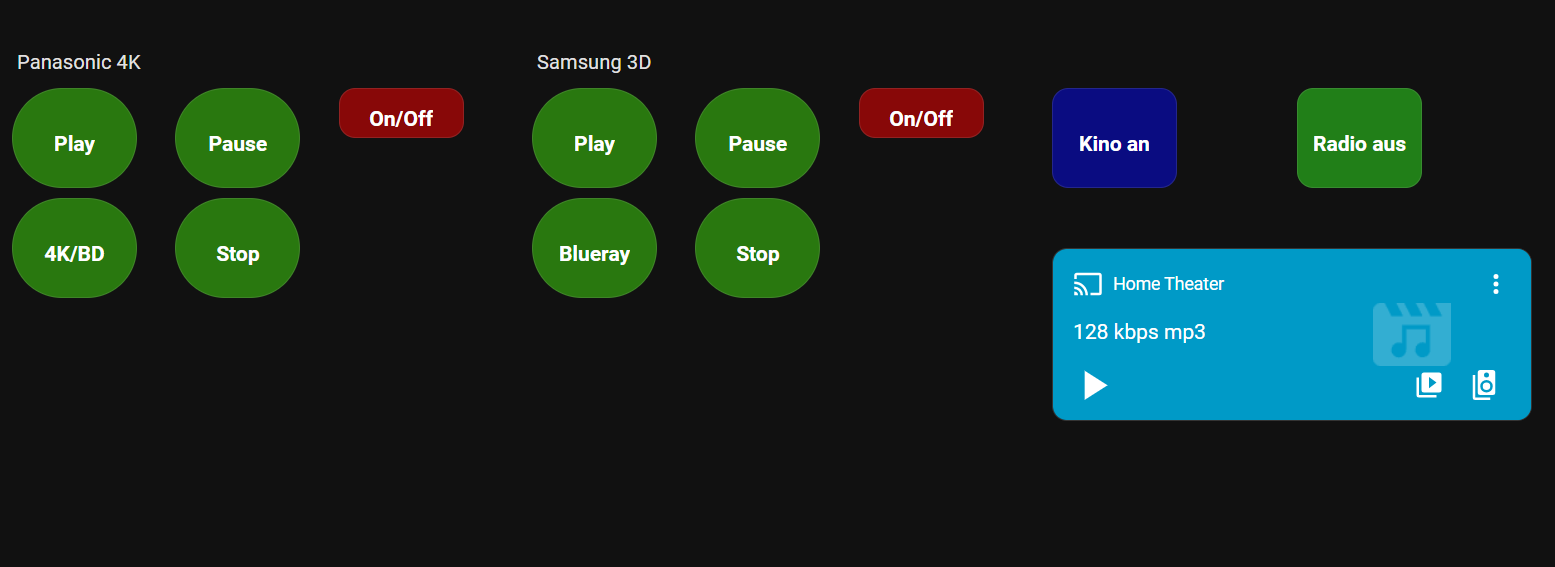
ich zeige dir mal mein code.wenn ich da nun icon einfüge wird es nicht angezeigt.
ards:
  - type: custom:button-card
    entity: input_button.3d_play
    section_mode: true
    name: Play
    icon: mdi:forward
    styles:
      card:
        - background: rgba(66,224,13,0.5)
        - border-radius: 360px
        - padding: 8px
        - height: 80px
        - width: 100px
      name:
        - color: white
        - font-weight: bold
Gruß OSR
Hi,
ich rufe bei mir scripte auf - also keine Entität.
Wenn Du section_mode rausnimmst wird das Icon angezeigt.
Gruß
Christian
Danke ja super. Langsam wird es