Also ich habe es erst noch paar mal mit dem dem Live Linux versucht und das flashen ist immer wieder eingefroren. HA hat zwar gebootet und größtenteils funktioniert, außer halt unser hier diskutiertes Problem und die ewelink Integration hat auch nicht funktioniert.
Danach habe ich einfach einen M.2 NVME Adapter bestellt und unter Windows HA direkt auf die SSD geflash, und siehe da, ewelink funktioniert und auch HACS wir nach der Eingabe des Befehls und SSH ausgeführt.
ABER: trotz Neustart kann ich HACS unter den ADONs nicht finden.
Hat jemand dieses Problem schon gehabt ?
HACS ist kein Addon, sondern eine Integration. Du musst es entprechend noch installieren, auf der Geräte & Dienste Seite. RTFM
Argh Asche über mein Haupt. Vielen Dank, funktioniert !
Hallo zusammen,
ich kämpfe seit Tagen damit HACS zu installieren.
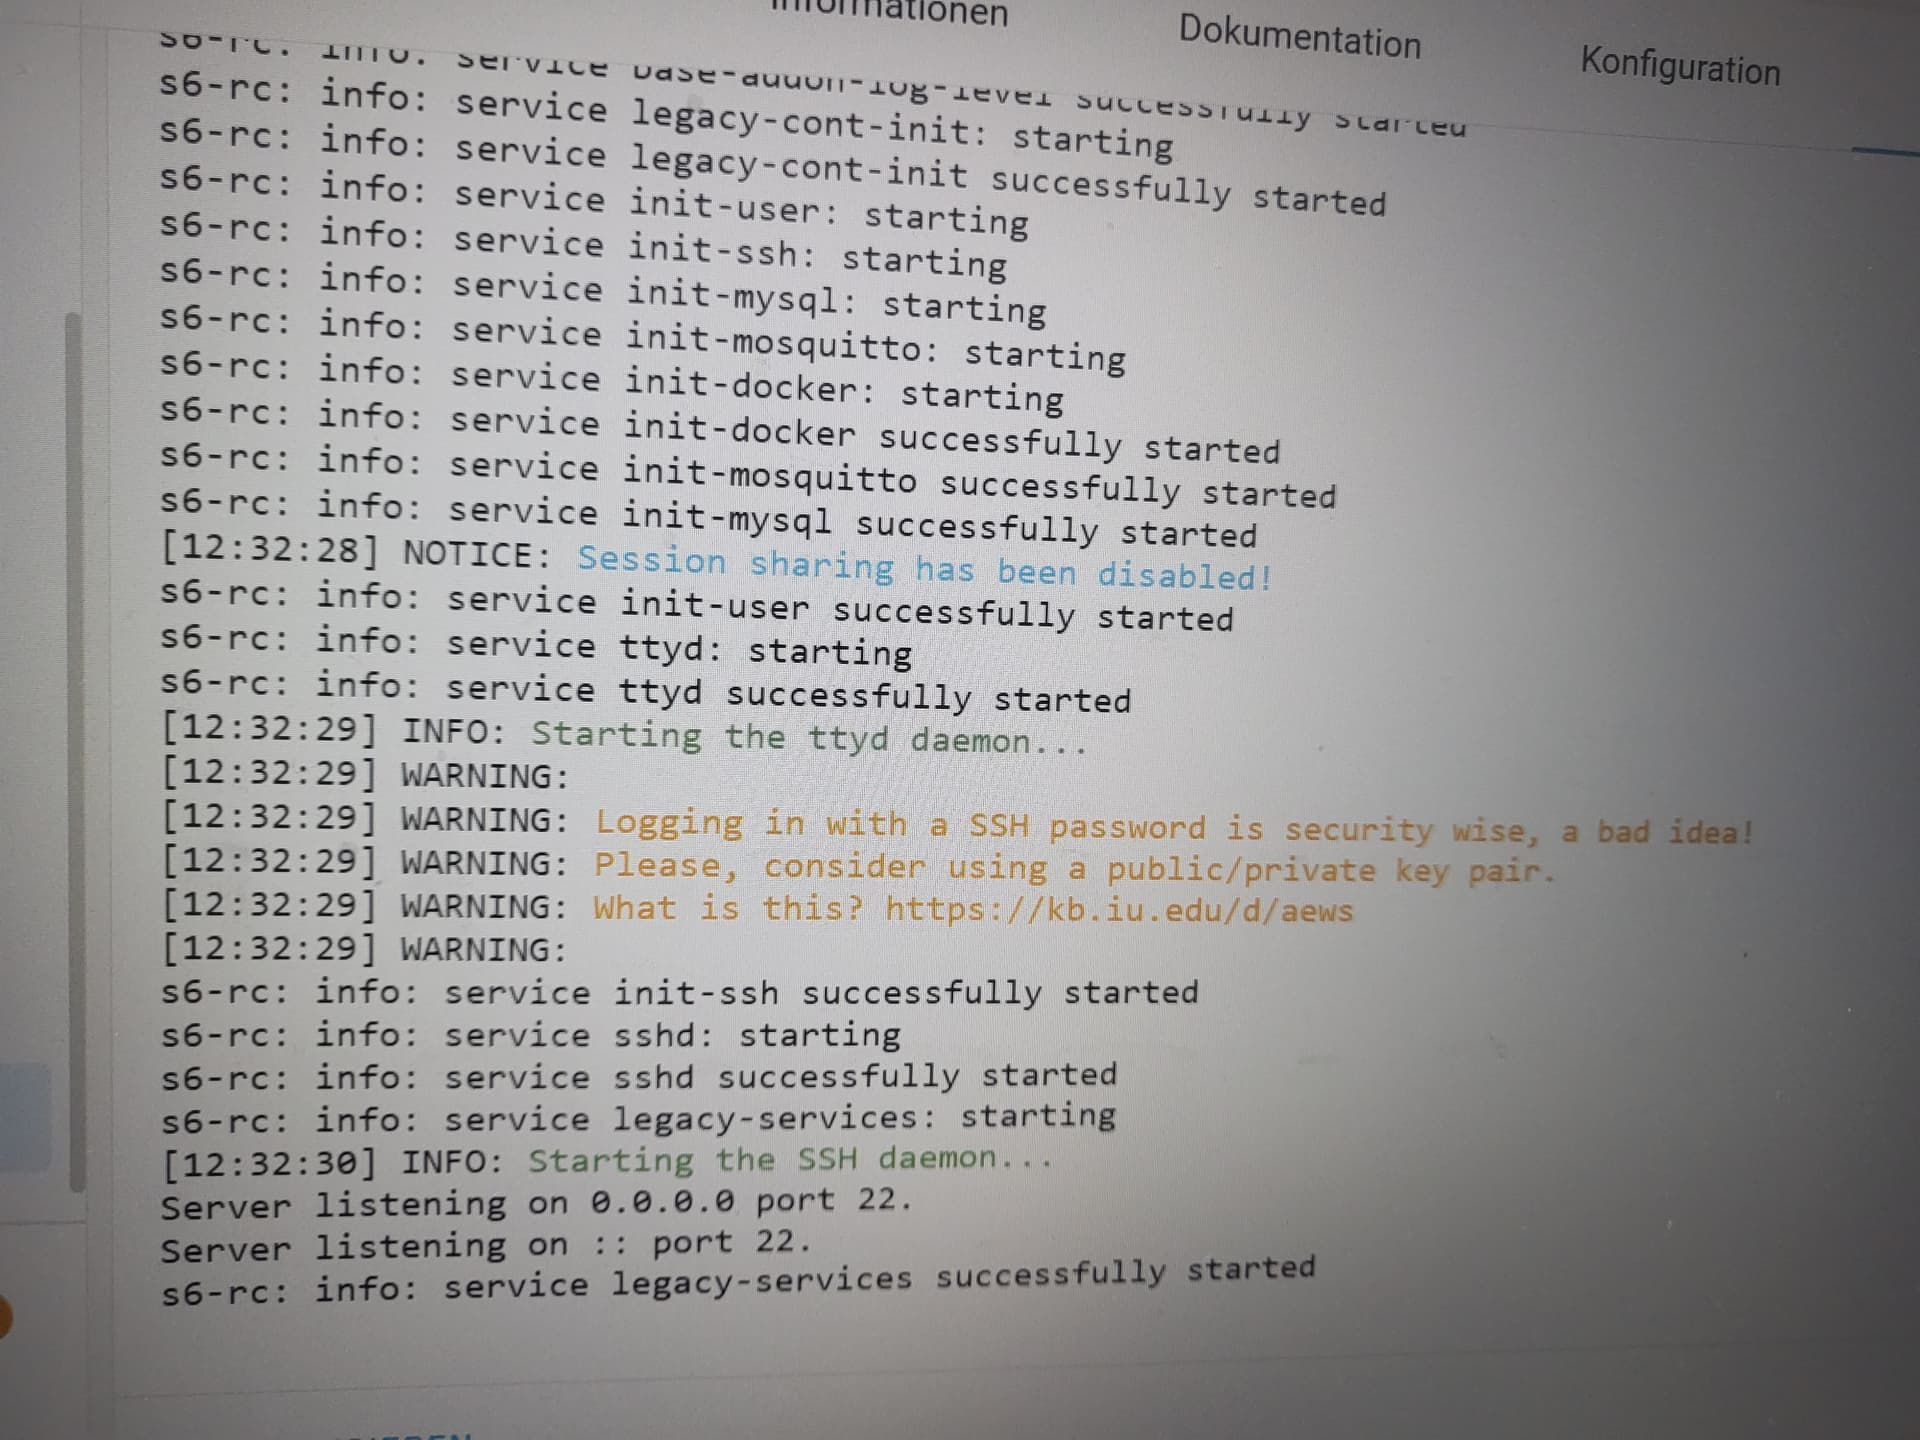
Das SSH Terminal scheint richtig zu laufen. Im Protokoll läuft der Port 22. Und der SSH-Dämon wird gestartet.
s6-rc: info: service s6rc-oneshot-runner: starting
s6-rc: info: service s6rc-oneshot-runner successfully started
s6-rc: info: service fix-attrs: starting
s6-rc: info: service fix-attrs successfully started
s6-rc: info: service legacy-cont-init: starting
cont-init: info: running /etc/cont-init.d/apks.sh
cont-init: info: /etc/cont-init.d/apks.sh exited 0
cont-init: info: running /etc/cont-init.d/keygen.sh
[21:00:26] INFO: Restoring host keys...
cont-init: info: /etc/cont-init.d/keygen.sh exited 0
cont-init: info: running /etc/cont-init.d/profile.sh
cont-init: info: /etc/cont-init.d/profile.sh exited 0
cont-init: info: running /etc/cont-init.d/ssh.sh
[21:00:26] INFO: Setup password login
cont-init: info: /etc/cont-init.d/ssh.sh exited 0
s6-rc: info: service legacy-cont-init successfully started
s6-rc: info: service legacy-services: starting
services-up: info: copying legacy longrun sshd (no readiness notification)
services-up: info: copying legacy longrun ttyd (no readiness notification)
[21:00:26] INFO: Starting Web Terminal...
[2023/10/24 21:00:26:8664] N: ttyd 1.7.3-a8cae75 (libwebsockets 4.3.2-v4.3.2)
[2023/10/24 21:00:26:8664] N: tty configuration:
[2023/10/24 21:00:26:8664] N:   start command: tmux -u new -A -s homeassistant bash -l
[2023/10/24 21:00:26:8664] N:   close signal: SIGHUP (1)
[2023/10/24 21:00:26:8664] N:   terminal type: xterm-256color
[2023/10/24 21:00:26:8670] N:    /usr/lib/libwebsockets-evlib_uv.so
[2023/10/24 21:00:26:8670] N: lws_create_context: LWS: 4.3.2-v4.3.2, NET CLI SRV H1 H2 WS ConMon IPV6-off
[2023/10/24 21:00:26:8670] W: lws_create_context: unreasonable ulimit -n workaround
[2023/10/24 21:00:26:8670] N: elops_init_pt_uv:  Using foreign event loop...
[2023/10/24 21:00:26:8671] N: __lws_lc_tag:  ++ [wsi|0|pipe] (1)
[2023/10/24 21:00:26:8671] N: __lws_lc_tag:  ++ [vh|0|netlink] (1)
[2023/10/24 21:00:26:8671] N: __lws_lc_tag:  ++ [vh|1|default||8099] (2)
[2023/10/24 21:00:26:8671] N: [vh|1|default||8099]: lws_socket_bind: source ads 0.0.0.0
[2023/10/24 21:00:26:8672] N: __lws_lc_tag:  ++ [wsi|1|listen|default||8099] (2)
[2023/10/24 21:00:26:8672] N:  Listening on port: 8099
s6-rc: info: service legacy-services successfully started
[21:00:26] INFO: Starting the SSH daemon...
Server listening on 0.0.0.0 port 22.
Server listening on :: port 22.
Sobald ich das Installationsskript im SSH-Terminal ausführe, erscheint die Fehlermeldung:
wget: bad adress ‘get.hacs.xyz’
Danach wird im Protokoll folgendes geschrieben:
[2023/10/24 21:00:27:5118] N: __lws_lc_tag:  ++ [wsisrv|0|adopted] (1)
[2023/10/24 21:00:27:5126] N: HTTP / - 172.30.32.2
[2023/10/24 21:00:27:8006] N: HTTP /token - 172.30.32.2
[2023/10/24 21:00:27:8485] N: WS   /ws - 172.30.32.2, clients: 1
[2023/10/24 21:00:27:8542] N: started process, pid: 189
[2023/10/24 21:01:04:5483] N: WS closed from 172.30.32.2, clients: 0
[2023/10/24 21:01:04:5484] N: killing process, pid: 189
[2023/10/24 21:01:04:5485] N: __lws_lc_untag:  -- [wsisrv|0|adopted] (0) 37.036s
[2023/10/24 21:01:04:5503] N: process killed with signal 0, pid: 189
Scheinbar soll die Lösung von ed.fischer funktionieren.
Hat diese Lösung schon jemand probiert?
Ich verstehe die Anleitung nicht.
Hat jemand eine Idee woran das Problem liegt?
Ich bin langsam am verzweifeln…
@ed.fischer Mit “Das Flashing mit Balena war nicht sauber” meinst du die HomeAssistantOS Image die auf die Interne Festplatte über BalenaEdcher geflasht wird?
Wenn ich darüber nachdenke, fällt mir ein, dass beim Flashen von HA OS auf meinen NUC der Bildschirm bei etwa 35% Fortschritt eingefroren ist. Aber ich HA bis auf die HACS Problematik problemlos nutzen kann…
Danke vorab und VG
MSHA
Servus MSHA,
bei mir damals hat nur der Installation via Terminal funktioniert. Einfach die Einleitung folgen: Flashing an SD Card - Developer Center - SolidRun (atlassian.net)
Ich bin kein Linux Experter aber die Einleitung ist für mich verständlich.
Gruss
Ed
Was hast du für ein OS installiert?
@MSHA Hats du das Problem gelöst? Ich habe auch das gleiche Problem. Leider kann ich die Anleitung auch nicht verstehen ![]()
Falls noch jemand das Problem hat ich habe jetzt Home Asisstant über Proxmox installiert. Jetzt funktioniert alles. Mfg
Hallo zusammen,
ich antworte mal zu dem Post, weil ich ein ähnliches Problem habe. Bin völlig neu im Bereich HA.
Habe HA auf einem Mini PC nach der Anleitung von Simon installiert. Der Download von HA ist bei 32 % immer eingefroren. Habe dann gelesen, dass ich einfach laufen lassen soll und irgendwann den Stick abziehen. Habe ich gemacht. Beim Neustarten funktionierte HA dann auch.
Nun habe ich die weiteren Anweisungen von Simon befolgt und bei der Installation von HACS kam zunächst die Fehlermeldung “bad address”. Habe dann diverse Forenbeiträge gelesen und vieles umgestellt. Nun erscheint aber die Fehlermeldung “unable to resolve host address”

Bei dem Protokoll vom SSH wird folgendes angezeigt:
Ich würde nun gern noch die Anleitung von @ed.fischer befolgen. Verstehe diese aber auch nicht.
Wo finde ich die Datei “img.xz”? Muss ich das wieder auf dem Mini-Pc machen oder am normalen PC?
Ich hoffe, mir kann jemand helfen. Ich verzweifel langsam.
LG Franzi
Servus Franzi, ich konnte HACS in HA nicht installieren, weil die Installation von HA mit BalenaEtcher nicht vollständig war (ca. 38% abgebrochen). Ich musste dann mein HP Thin Client komplett mit Ubuntu 22.04.XX installieren. Danach habe ich die Schritte gemacht. (Ich gehe davon aus, dass du versucht hast, die Schritte im bereits installierte HA auszuführen. Das wird wohl nicht funktionieren.):
All Linux distributions include all the program to extract and flash the image to an SD card. Everything will be done from the command line. Starting a command line (also called terminal) depends on the desktop environment you use (or, if you don’t use a desktop environment, you are already at the command line.)
Go the the folder where the file .img.xz file is downloaded. If this is the downloads folder, type
cd downloads
and press enter. To extract the .xz file, run
xz -d .img.xz
if it does not work please install the unxz program and run
unxz .img.xz
to decompress it. The image will now be extracted. Now type
ls -lh *.img
and press enter. The output will look like
-rw-r–r-- 1 user group 2.0G Jan 25 15:33 .img
The 2.0G part is the size of the file. This is also the minimal size of the SD card you need. It is not a problem if the SD card is larger. Connect the SD card. Use a microSD to SD card adapter and insert the SD card in the SD slot. Or use a microSD to USB converter. Depending on the distribution, the SD card might be mounted automatically. Before it can be flashed, it must be unmounted. Type
mount
and press enter to check if the SD card is mounted. It can appear as /dev/mmcblk0p1 or /dev/sdb1 or similar. If partitions are mounted, unmount them first. Type
umount
and press enter. If you get a message about permissions, type the same command preceded by sudo and press enter. You must type your password to give permission to execute the command. Now the image can be flashed to the SD card. It should be flashed to the whole SD card, not to a partition. If, in the previous step the mount point was /dev/sdb1, you need to flash it to /dev/sdb (without the 1). On the terminal, type (change the device name to the correct one, for example /dev/mmcblk0 or /dev/sdb)
dd bs=4k conv=fsync if=.img of=/dev/sdb
and wait. Before you press enter, double check that the device is correct. An incorrect device could erase everything on your hard disk. Press enter if everything is correct. If the previous command required sudo, also precede this command with sudo. There will be no visual confirmation that anything is going on. Depending on the write speed of the SD card, and the size of the image, it can take a long time.
Extend image size to whole SD card
Viel Glück
Ed
![]() by HarryP: Bitte keinen “übertriebenen” Fettdruck verwenden.
by HarryP: Bitte keinen “übertriebenen” Fettdruck verwenden.
Hallo Ed, vielen Dank erstmal für deine Antwort. Bin gerade dabei Ubuntu komplett zu installieren. Nur kurz zur Klarstellung: Mit benannten Schritten meinst du, die von Simon? Also balena etcher installieren und dann homeassistant generic…? Oder muss ich die schritte, welche du schreibst (also die auf englisch) zunächst machen?
Ich verstehe die Anleitung einfach nicht.
Wo ist die Datei img.xz zu finden? Es steht ja nur da: Go to the folder, where the file .img.xz is downloaded…die datei habe ich doch aber gar nicht runtergeladen, oder?
- Download HAOS (Home Assistant Operating System) :
https://github.com/home-assistant/operating-system/releases/download/11.1/haos_generic-x86-64-11.1.img.xz
The file should be in your Download folder in Ubuntu
-
Open a terminal in ubuntu and go the the folder where the file .img.xz file is downloaded.
-
To extract the .xz file, run in terminal:
xz -d .img.xz
if it does not work please install the unxz program and run
unxz .img.xz
- Now type
ls -lh *.img
and press enter. The output will look like
-rw-r–r-- 1 user group 2.0G Jan 25 15:33 .img
The 2.0G part is the size of the file. This is also the minimal size of the SD card you need. It is not a problem if the SD card is larger. Connect the SD card. Use a microSD to SD card adapter and insert the SD card in the SD slot. Or use a microSD to USB converter. Depending on the distribution, the SD card might be mounted automatically. Before it can be flashed, it must be unmounted. Type
mount
and press enter to check if the SD card is mounted. It can appear as /dev/mmcblk0p1 or /dev/sdb1 or similar. If partitions are mounted, unmount them first. Type
umount
and press enter. If you get a message about permissions, type the same command preceded by sudo and press enter. You must type your password to give permission to execute the command. Now the image can be flashed to the SD card. It should be flashed to the whole SD card, not to a partition. If, in the previous step the mount point was /dev/sdb1, you need to flash it to /dev/sdb (without the 1). On the terminal, type (change the device name to the correct one, for example /dev/mmcblk0 or /dev/sdb)
dd bs=4k conv=fsync if=.img of=/dev/sdb
and wait. Before you press enter, double check that the device is correct. An incorrect device could erase everything on your hard disk. Press enter if everything is correct. If the previous command required sudo, also precede this command with sudo. There will be no visual confirmation that anything is going on. Depending on the write speed of the SD card, and the size of the image, it can take a long time.
Extend image size to whole SD card
Nachtrag:
@FraDa
Servus Franzi, ich konnte HACS in HA nicht installieren, weil die Installation von HA mit BalenaEtcher nicht vollständig war (ca. 38% abgebrochen). Ich musste dann mein HP Thin Client komplett mit Ubuntu 22.04.XX installieren. Danach habe ich die Schritte gemacht. (Ich gehe davon aus, dass du versucht hast, die Schritte im bereits installierte HA auszuführen. Das wird wohl nicht funktionieren.)
![]() by HarryP: Zusammenführung Doppelpost und “Fettdruck” korrigiert
by HarryP: Zusammenführung Doppelpost und “Fettdruck” korrigiert
Hallo, ich hatte auch dieses Problem.
HACS konnte ich nicht, wie hier beschrieben, installieren. Da man aber viele Integrationen manuell installieren kann konnte ich damit leben. Später wollte ich eine Wetter API z.B. openweathermap. Hier zeigte sich das gleiche Problem, der Dienst wollte nicht funktionieren. Darauf hin habe ich weitere externen Dienste probiert. Immer das gleiche Problem. Man konnte den Dienste nicht nutzen weil keine Anbindung an die externen APIs nicht funktioniert.
Ich bin dann auf diese Anleitung gestoßen. Damit funktioniert es jetzt bei mir ohne Probleme und HACS lässt sich wie gewohnt installieren.
Die Ursache ist ein Problem mit dem Programm (Balena Etcher) mit dem das HA Image installiert wird.
Evtl. hilft das auch anderen Nutzern.
Viele Grüße
Andreas